Quite often, you’ll find yourself needing to resize a picture, this may be because you want to upload it to your website or insert it into a document. If you use the full size picture then you can cause your website to become very slow or cause your document to get far too large.
Luckily you can quickly and easily resize a picture using software built into both Windows and macOS.
Windows
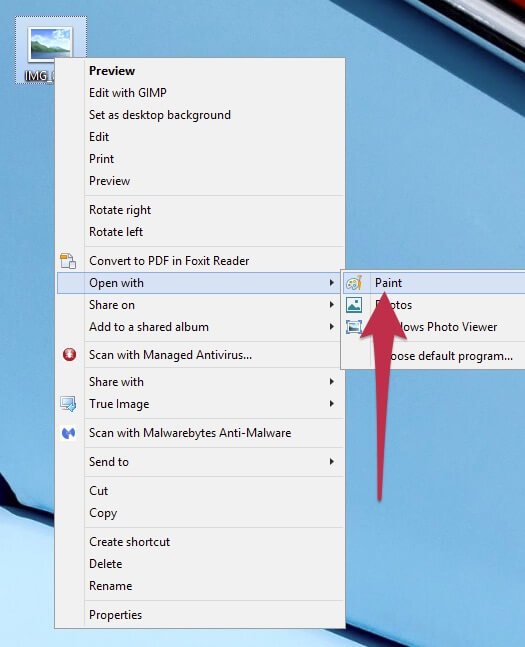
The first step is to right click on the picture you want to resize and then choose to open it with Paint.
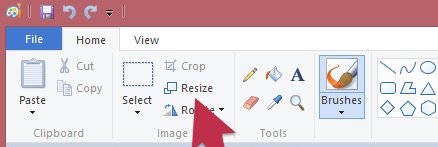
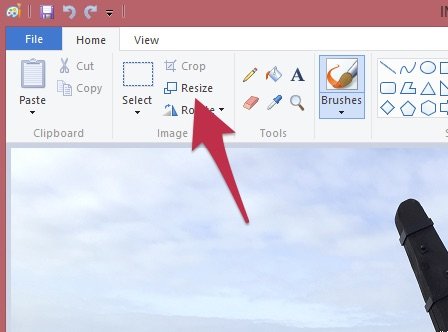
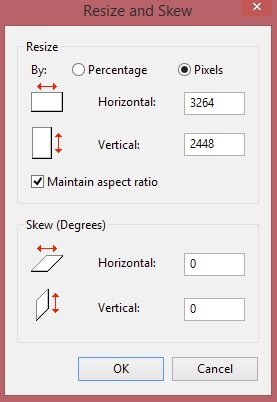
Once you have your picture open, click on the Resize button in Paint.
You can now set the size in pixels that you want your picture to be. A good size for websites or documents would be around 500 pixels wide. Please ensure that Maintain aspect ratio is ticked so that the picture doesn’t change shape.
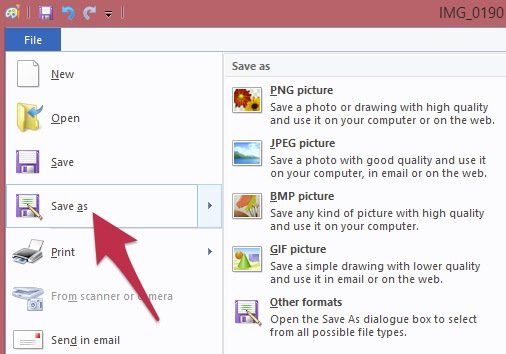
You can now save your resized photo so just click on the File tab and then Save as and pick the format, usually JPEG is the best option.
macOS
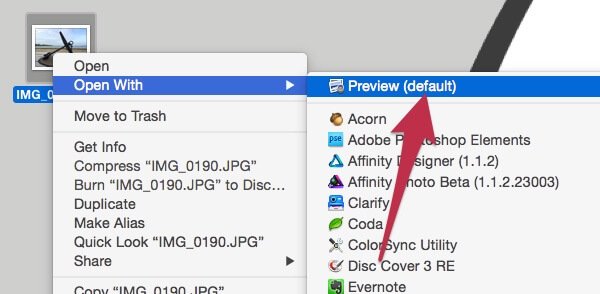
Right click on your picture and select Open With Preview. This is usually the default option for opening pictures, so you can most likely just double click on the picture to open it.
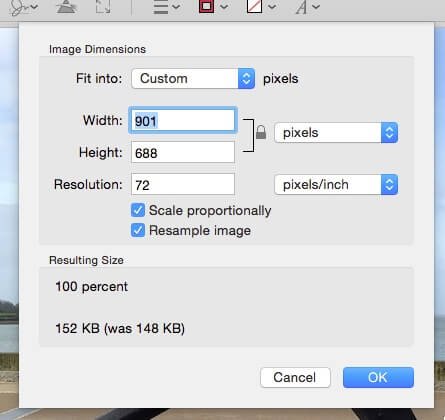
Once you have your picture open in Preview, click on the Tools menu and then click on Adjust Size.
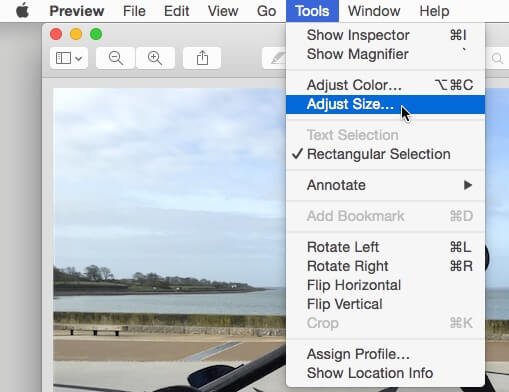
You can now enter the new size for your picture. A good size for websites or documents would be around 500 pixels wide. Please ensure that Scale proportionally is ticked so that the picture doesn’t change shape.
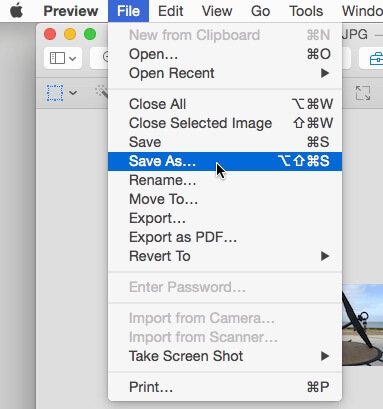
Now that you’ve resized your picture, click on File, Save As… to choose a location and format for your resized picture, it’s usually best to leave the format as JPEG for the best compatibility.
You'll now have a much smaller picture that you can use for profile pictures on social media, uploading into your website or inserting into documents or presentations.