

Super impressed with the load speed! It’s actually useable now haha! Great work.
Once again, thanks for all your help. You’ve been awesome!
We’ll definitely be moving some other sites over to you soon.

Did you know that you can easily transfer files between Apple devices (Mac, iPhone, iPad) using the built in AirDrop feature? This saves you having to email your own files between your different devices and allows you to easy send files to other nearby Apple users without having to get their email address or installing any extra software.
The first step to transferring a file via AirDrop is to find the file that you want to transfer. In this example, we'll use a spreadsheet we've created in Numbers on iPhone but you can also use AirDrop with photos, email attachments, text documents and almost any file you can access on your phone simply by opening the file or tap and hold your finder on the file and then tap on the Share icon.

To AirDrop the spreadsheet we're using in this example, the first step is to go into the Files app
We then find the file we want to share in the Numbers folder.
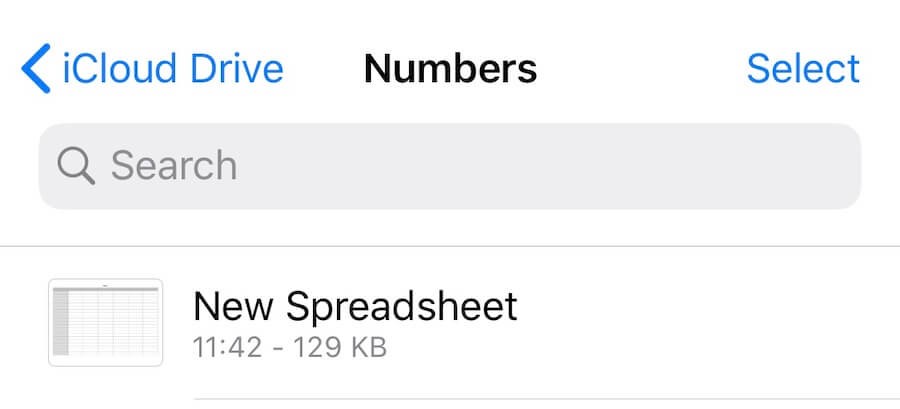
We now have two options, we can either tap on the spreadsheet to open it and then share it via AirDrop but in this example, rather than open the spreadsheet, we'll tap and hold on it until the menu pops up and then tap on Share.
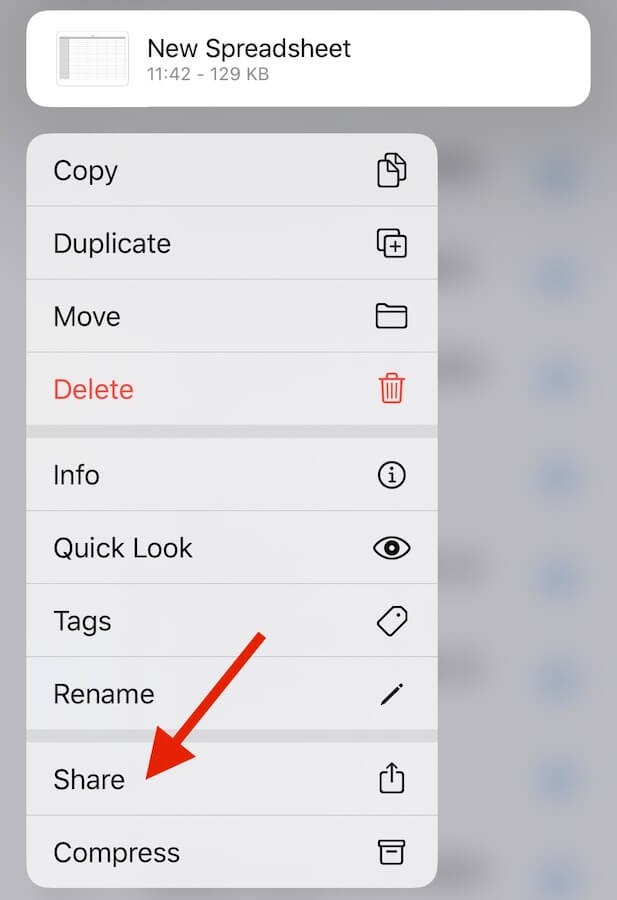
Once you tap on Share, the normal share options will appear and you just tap on the AirDrop option.
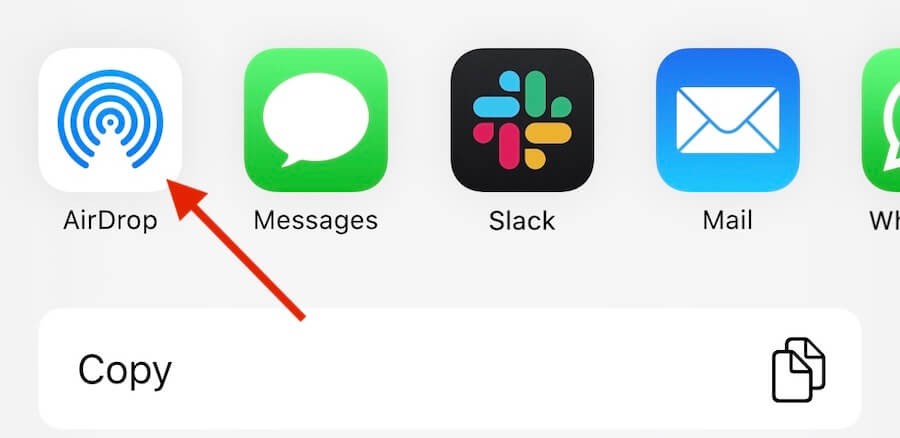
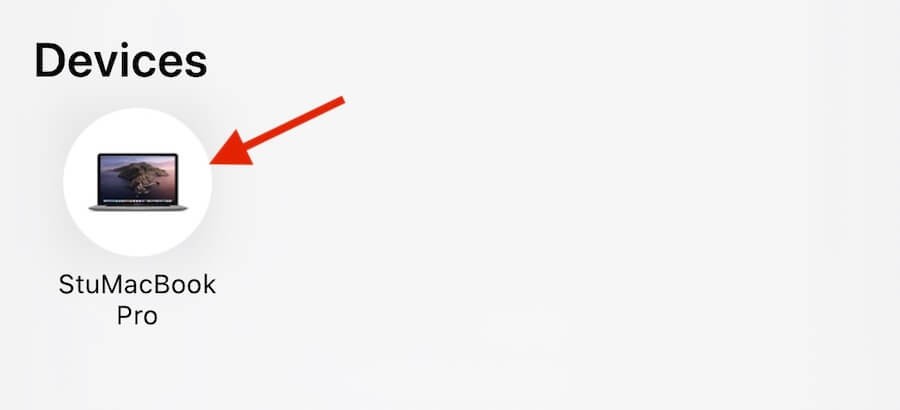
You'll then see any Apple devices nearby that you can AirDrop to, in this case, my MacBook Pro.
You just tap on the device that you want to send the file to, the recipient will be asked if they want to receive it and once they accept, the file will be transferred over (do note that if you're sending a file to yourself, you won't usually be asked to accept it).
Once the file has transferred, the Finder will open to show you the transferred file and you can just double click on it to open it on your Mac.
This should get you started with using AirDrop to transfer files, if you have any follow up questions, do please get in touch and let us know at help@tekeez.uk
The first step to transferring a file via AirDrop is to find the file that you want to transfer. In this example, we'll use a spreadsheet we've created in Numbers on iPhone but you can also use AirDrop with photos, email attachments, text documents and almost any file you can access on your phone simply by opening the file or tap and hold your finder on the file and then tap on the Share icon.
To AirDrop the spreadsheet we're using in this example, the first step is to go into the Files app
We then find the file we want to share in the Numbers folder.
We now have two options, we can either tap on the spreadsheet to open it and then share it via AirDrop but in this example, rather than open the spreadsheet, we'll tap and hold on it until the menu pops up and then tap on Share.
Once you tap on Share, the normal share options will appear and you just tap on the AirDrop option.
You'll then see any Apple devices nearby that you can AirDrop to, in this case, my MacBook Pro.
You just tap on the device that you want to send the file to, the recipient will be asked if they want to receive it and once they accept, the file will be transferred over (do note that if you're sending a file to yourself, you won't usually be asked to accept it).
Once the file has transferred, the Finder will open to show you the transferred file and you can just double click on it to open it on your Mac.
This should get you started with using AirDrop to transfer files, if you have any follow up questions, do please get in touch and let us know at help@tekeez.uk
FEATURED PRODUCTS


Featured Product

Why not follow us?


Tekeez support both PC/Windows users and Mac users equally, so whether you have a Mac or a PC we can help.
Tekeez are proud to have been providing legendary IT Superhero services and support for 30 years, since 1994.
Why not try our services and discover the secret of our success?


© 1994-2026 EuroSolve Ltd - Tekeez® is a registered trademark and brand of EuroSolve Ltd
0333 023 0001.
0333 023 0001.
Tekeez® Oxford:
Prama House • 267 Banbury Road • Oxford • OX2 7HT
Tekeez® Caerphilly:
Britannia House • Caerphilly Business Park • Van Road • Caerphilly • CF83 3GG